
Propagation
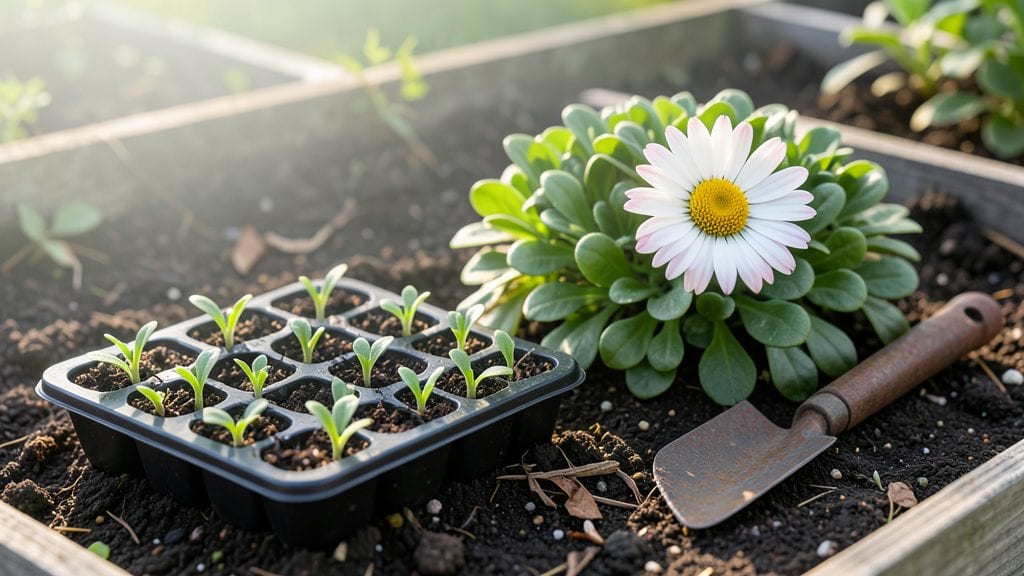
Harvesting daisy seeds from the flower itself is the easiest way to grow more of these cheerful blooms for free. ✨ The secret lies in timing—wait until the flower heads turn brown and papery, signaling the seeds are ready to collect.
I’ve grown dozens of daisies this way, and the first year’s results always surprise me with their resilience.
You’ll need just three things: a pair of clean scissors, a paper bag, and a sunny spot for planting. Once the flower head dries completely, snip it off and shake the seeds into your bag.
Store them in a cool, dry place until spring, and you’ll have fresh daisies popping up in just 2-3 weeks with minimal effort.
The payoff is worth the patience—lush, low-maintenance daisies that spread effortlessly and attract pollinators all season. Their bright faces lift any garden corner, and the process teaches you how nature’s timing works in real time.
Works for perennial daisies like Shasta or Gerbera, or even annuals like African marigolds. Here’s how to do it step by step—no green thumb required.
📚 In This Guide
- What you need
- Instructions
- Tips and common mistakes
- Wrapping up and next steps
What you need
- ● Mature daisy flowers: Choose fully bloomed, healthy daisies (preferably Bellis perennis or Leucanthemum varieties) with dry, brown seed heads. Quantity: 3–5 flowers (for home gardening).
- ● Scissors or pruning shears: Sharp, clean tools to snip seed heads without damaging stems.
- ● Paper bags or envelopes: Brown paper bags (for drying seeds) or airtight envelopes (for storage). Quantity: 1–2 per batch of seeds.
- ● Seed-starting mix: Lightweight, sterile potting soil (avoid garden soil—it may contain pathogens). Quantity: 1–2 small trays (10" x 20").
- ● Seed trays or small pots: Biodegradable or plastic trays with drainage holes. Size: 2–3" deep, enough for 12–24 cells.
- ● Magnifying glass: Helps spot tiny daisy seeds in seed heads.
- ○ Fine mesh sieve: Sifts seeds from chaff (optional but handy for bulk harvesting).
- ● Spray bottle: For misting soil lightly during germination.
- ● Grow lights or sunny windowsill: Daisy seeds need 6–8 hours of light daily.
- ● Humidity dome or plastic wrap: Creates a mini greenhouse effect to retain moisture.
- ● Fertilizer (balanced, water-soluble): Diluted to half-strength for seedlings. Example: 5-5-5 or 10-10-10.
Step-by-Step guide to harvesting and planting daisy seeds
Here's how to turn last year's blooms into next season's cheerful daisies.
🌱 Step 1: Select and Prepare Mature Daisy Heads
Choose fully mature daisy heads that have turned brown and begun to dry completely on the plant. You'll know they're ready when the petals have fallen away naturally, leaving just the central seed disc. Gently twist the dried head from the stem—it should release with minimal effort. Avoid heads that still have green stems or damp centers, as these seeds won't store properly.
Place the harvested heads in a paper bag and store them in a dry, well-ventilated area for 7-10 days. This drying period ensures any remaining moisture evaporates completely, preventing mold during storage. I like to hang the bags from a hook in my garage where airflow circulates naturally.
✂️ Step 2: Extract and Clean the Seeds
Once the heads are completely dry, rub them between your palms over a clean sheet of newspaper or a white bowl. The seeds will fall out easily while the chaff separates. You'll see the small, dark seeds mixed with lighter debris—this is normal. Use a fine-mesh strainer or gently blow away the lighter chaff to isolate the pure seeds.
For extra cleanliness, I spread the seeds on a baking sheet and let them sit in direct sunlight for 1-2 hours. The UV light helps kill any lingering fungal spores. Store the cleaned seeds in a small envelope or airtight container labeled with the variety and harvest date—this prevents mix-ups if you grow multiple daisy types.
🪴 Step 3: Prepare Seed Starting Mix and Containers
Fill 4-inch diameter pots with a sterile seed-starting mix (never garden soil—it's too dense). Moisten the mix until it holds together when squeezed but doesn't drip. Press the soil down lightly so the surface is firm but not packed—this ensures good seed-to-soil contact. I like to use biodegradable pots because they let me transplant without disturbing roots.
Sow 2-3 seeds per pot at a depth of about ¼ inch, roughly the diameter of the seeds themselves. Cover lightly with additional mix and mist the surface gently with water until evenly moist. A heavy watering can will bury the seeds too deep, delaying germination. I label each pot with the date to track growth progress.
☀️ Step 4: Provide Ideal Germination Conditions
Place the pots in a location with constant warmth—ideally between 65-75°F. A seedling heat mat keeps the soil 10°F warmer than ambient temperature and speeds up germination. Expect sprouts in 10-21 days, though cooler rooms may take longer. Keep the soil consistently moist but never soggy—you'll see condensation on the pot's sides when moisture is right.
Once the first true leaves appear (not the initial seed leaves), move the seedlings to a south-facing window or under a grow light for 14-16 hours daily. Without sufficient light, seedlings stretch toward the window (called "leggy") and never recover proper strength. You'll know they're getting enough light when the leaves are dark green and compact.
🌿 Step 5: Harden Off and Transplant Young Plants
Two weeks before your last frost date, start hardening off the seedlings by placing them outside in a sheltered, shaded spot for 1-2 hours the first day. Gradually increase outdoor time by 1 hour daily over 10-14 days, slowly introducing more sun and wind. This prepares them for the garden without shock.
Transplant after all danger of frost has passed, choosing a spot with full sun (6+ hours daily). Space seedlings 12-18 inches apart to allow room for mature growth. Water deeply at the base after transplanting—this encourages roots to establish downward rather than staying near the surface. Mulch with 1-2 inches of organic mulch to retain moisture and suppress weeds.
Tips & tricks for perfect daisy seed harvesting and planting
Here's how to avoid common pitfalls and get the most from your daisy seeds.
Drying Strategy: The 7-10 day drying period in Step 1 is crucial—don't rush it! If your climate is humid, consider adding a small silica gel packet to the paper bag to absorb extra moisture. I've seen seeds mold when dried too quickly, especially in damp conditions.
Seed Cleaning Hack: For Step 2, use a clean kitchen towel instead of newspaper to catch seeds—it's easier to see the dark seeds against the lighter fabric. Once you've separated the seeds, store them in a small glass jar with a tight lid to prevent moisture from seeping in over time.
Germination Timing: The 10-21 day germination window in Step 4 can vary based on temperature. If your home stays cooler than 65°F, you might see sprouts closer to the 21-day mark. Keep a journal of your germination times—this helps you predict future batches more accurately.
Hardening Off Tip: When increasing outdoor time in Step 5, watch for signs of stress like wilting or yellowing leaves. This means you're moving too quickly—reduce the time increment. A gentle breeze helps strengthen seedlings, but direct afternoon sun can scorch them during hardening.
Pro Tips for Daisy Seeds From Flower
- Here's how to avoid common pitfalls and get the most from your daisy seeds.
- Drying Strategy: The 7-10 day drying period in Step 1 is crucial—don't rush it!
- Seed Cleaning Hack: For Step 2, use a clean kitchen towel instead of newspaper to catch seeds—it's easier to see the dark seeds against the lighter fabric.
Frequently asked questions
Got questions about harvesting or planting daisy seeds? You’re not alone! Here are some of the most common concerns—plus straightforward answers to help you grow like a pro.
Can you eat daisy seeds from flowers?
While daisy seeds (Bellis perennis) are technically edible, they’re not commonly consumed. The small, hard seeds lack significant nutritional value and can be bitter. If you’re curious, try roasting them lightly for a crunchy snack—but focus on growing them for propagation instead! For culinary use, consider edible flowers like nasturtiums or calendula.
How long does it take for daisy seeds to germinate?
Daisy seeds usually sprout within 7–21 days under ideal conditions: consistent moisture, temperatures between 60–70°F (15–21°C), and indirect light. Keep the soil damp (not soggy) and avoid disturbing the seeds. If germination takes longer, check for overcrowding or poor drainage—both can delay sprouting.
Do daisy seeds need light to germinate?
Daisy seeds do not require light to germinate—they’re light-sensitive only after sprouting. Plant them ¼ inch deep in well-draining soil and keep them in darkness until you see tiny shoots (about 5–7 days). Once they emerge, move them to bright, indirect light to prevent leggy growth.
What’s the best way to store harvested daisy seeds?
Store seeds in a cool, dry place (like a paper envelope or airtight container) in a dark cupboard. Keep them away from humidity or heat, which can cause mold or premature sprouting. Label the container with the harvest date—most daisy seeds stay viable for 1–2 years if stored properly.
Why aren’t my daisy seeds sprouting?
Try these troubleshooting steps:
- Check moisture: Overwatering can drown seeds, while dry soil halts germination. Aim for consistently damp (not waterlogged) soil.
- Test temperature: Seeds need warmth to activate. If your space is too cold (<50°F/10°C), try a seedling heat mat.
- Verify freshness: Old seeds may have low viability. Test a few in a separate pot to confirm.
- Inspect for pests: Fungal issues or insects (like mold mites) can sabotage sprouts. Use a fungicide if needed.
Wrapping up and next steps
Harvesting and planting daisy seeds from flowers is a rewarding way to nurture new growth and expand your garden with minimal effort! Whether you're a seasoned gardener or just starting out, these tiny seeds hold big potential for vibrant blooms. 🌱
Now that you’re equipped with the knowledge, take the next step: grab those dried daisy heads, prepare your soil, and sow those seeds with confidence. The joy of watching fresh daisies sprout from your own harvest is unmatched—so roll up your sleeves and let nature do its magic! 🌸