
Flowers
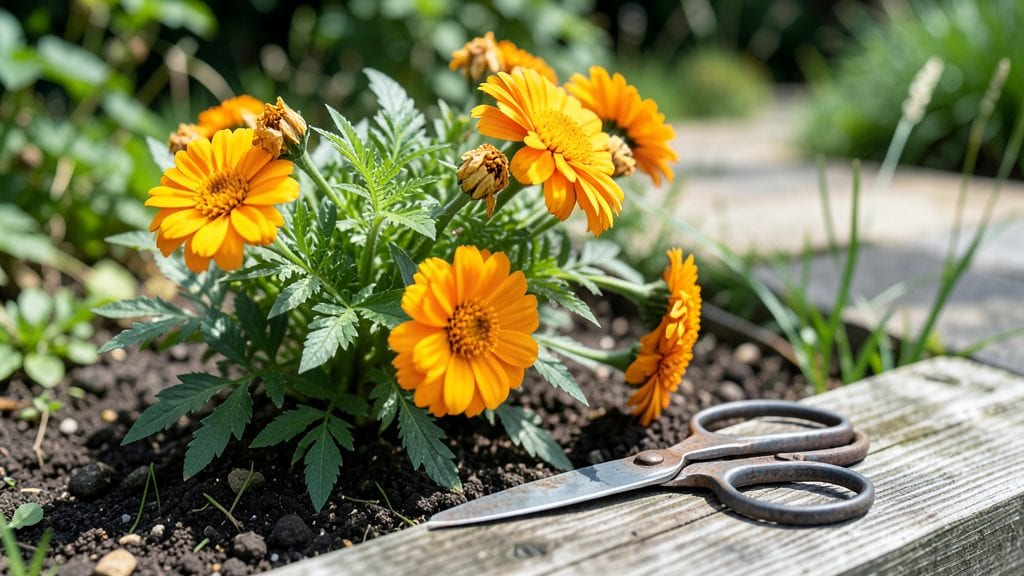
Drying calendula flowers unlocks their full potential beyond the garden—think golden petals in tea, soothing salves, or fragrant potpourri. 🌼 I’ve dried hundreds of batches, and the secret to keeping those vibrant orange hues isn’t just patience—it’s the right method for your space and goals.
Whether you’re preserving for remedies or crafts, the difference between dull petals and rich, fragrant blooms comes down to how you handle humidity, airflow, and timing.
You’ll need just three basics: fresh, fully open calendula blooms, a clean drying surface (like a screen or paper towels), and a dry, dark spot with good airflow. No fancy equipment—just what you already have.
The process takes anywhere from 3 to 7 days, depending on your chosen method, and the results last for months if stored properly. Air-drying is the most traditional, but silica gel speeds things up for bulk projects, while the microwave offers a quick fix for small batches.
What you end up with are petals that stay bright, fragrant, and versatile—perfect for infusing oils, steeping in hot water, or weaving into wreaths. The texture remains delicate enough for crafts but sturdy enough to hold up in remedies.
And here’s the best part: you’ll avoid the common pitfalls like mold, fading, or brittle petals that ruin the harvest. Ready to turn your garden’s bounty into something useful and beautiful?
This method works year-round, whether you’re drying a summer harvest or reviving winter bouquets. The key is adapting the technique to your climate—humid summers mean extra ventilation, while dry air speeds up the process. Let’s get those petals preserved without the guesswork.
📚 In This Guide
- What you need
- Instructions
- Tips and common mistakes
- Wrapping up and next steps
What you need
- ● Fresh calendula flowers (harvested on a dry, sunny morning for best results; aim for at least 1–2 cups of fully bloomed flowers).
- ● Scissors or pruning shears (clean, sharp tools to snip stems without damaging petals).
- ● Drying surface options (choose one): Drying screen or mesh rack (preferably with fine holes to allow airflow).
- ● Baking sheets (line with parchment paper or a clean, dry towel).
- ● Brown paper bags (for the paper bag method, use unbleached, sturdy bags).
- ● Dry, well-ventilated space (a cool, dark area like a pantry, closet, or shaded porch—no direct sunlight!).
- ● Air-tight containers (glass jars or food-grade plastic containers with lids for storage).
- ● Desiccant packets (silica gel or dried rice in small bags to absorb moisture during storage).
- ● Labeling supplies (masking tape + markers to note drying dates or uses).
- ● Hair dryer or fan (for speed-drying in 1–2 hours; use low heat only!).
- ● Essential oil diffuser (add a drop of lavender or chamomile oil to storage containers for a soothing scent).
Step-by-Step guide to drying calendula flowers
Here's how to preserve those golden petals for months of crafting and healing.
🌿 Step 1: Harvest Flowers at Peak Freshness
Pick calendula blooms on a dry morning after the dew has evaporated. Choose fully open flowers with vibrant petals—these dry best and retain their color. Use clean, sharp scissors or pruners to avoid damaging stems, and cut just above a leaf node to encourage more blooms.
Harvest when the petals are fully unfurled but before they start wilting or browning at the edges. This is usually mid-morning when the flowers are fully hydrated. Avoid harvesting after rain—wet petals take longer to dry and may develop mold. I like to gather flowers in small batches of about 20-30 at a time to process them fresh.
⏰ Step 2: Prepare for Drying with Gentle Handling
Remove any damaged petals or leaves from your harvest. Gently separate the petals from the centers and lay them flat on a clean, dry surface. Don't crowd them—they need space to dry evenly. I use a clean kitchen towel or parchment paper for this step, as it prevents sticking and makes cleanup easier.
If you're drying whole flowers for crafting, simply tie small bundles of 5-7 stems together with twine. Hang them upside down in a dry, dark place with good air circulation. For petals, arrange them in a single layer—this prevents moisture buildup between petals that can lead to mold.
☀️ Step 3: Choose Your Drying Method
For quick drying, spread petals on a mesh screen or clean window screen in a warm, dry spot with indirect sunlight. A sunny windowsill works well, but avoid direct sun—it can bleach the petals and reduce their vibrant color. You'll know they're ready when they're completely dry to the touch and crisp, which usually takes 3-5 days depending on humidity.
For whole flowers, bundle them and hang in a dark, dry place with good airflow. A closet with a small fan works perfectly. Check daily—flowers are ready when the petals crumble easily between your fingers. This method takes 7-10 days but preserves the flower's structure beautifully for crafts.
🌱 Step 4: Store Dried Petals Properly
Once completely dry, transfer petals to airtight containers like glass jars or resealable bags. Store in a cool, dark place away from direct sunlight to preserve their color and medicinal properties. Properly stored, dried calendula petals stay vibrant for 6-12 months. I like to label my jars with the date and purpose—whether it's for tea, salves, or crafts.
For whole dried flowers, keep them in small breathable bags or jars with a bit of silica gel to absorb any remaining moisture. This prevents them from becoming brittle or developing mold. If you're making tea, you can crush dried petals lightly with a mortar and pestle before steeping for stronger flavor.
Tips & tricks for perfectly preserved calendula petals
Here's what I've learned after drying hundreds of batches—these little details make all the difference.
Timing Secret: In Step 1, harvest in the morning after dew evaporates but before the heat of midday. The petals will retain their vibrant color for drying. I've found that harvesting between 8-10 AM gives me the most consistent results—any later and the petals start to wilt before I can process them. For larger harvests, work in batches of 20-30 flowers at a time to keep everything fresh.
Drying Surface Strategy: When preparing your petals in Step 2, use parchment paper instead of paper towels. The parchment prevents sticking and makes it easier to transfer the dried petals later. I've ruined batches before by using regular towels—the fibers get caught in the delicate petals. Also, place petals in a single layer with at least ½ inch between each one to ensure even drying and prevent mold.
Humidity Watch: In Step 3, if you notice condensation forming on your drying surface or petals, your environment is too humid. Move to a drier location or use a small fan to circulate air. I've had to move my drying setup three times during rainy seasons—patience is key when humidity slows down the process. For petals, aim for 3-5 days; for whole flowers, 7-10 days is normal in average conditions.
Storage Wisdom: In Step 4, label your containers with both the date and intended use. I've seen calendula lose its vibrant color when stored in transparent containers exposed to light. Use opaque glass jars or wrap containers in aluminum foil to block light. For tea blends, I crush the dried petals lightly before storing—they'll release flavor more quickly when steeping.
Pro Tips for Drying Calendula Flowers
- Here's what I've learned after drying hundreds of batches—these little details make all the difference.
- Timing Secret: In Step 1, harvest in the morning after dew evaporates but before the heat of midday.
- Drying Surface Strategy: When preparing your petals in Step 2, use parchment paper instead of paper towels.
Frequently asked questions
Got questions about drying calendula flowers? You’re not alone! Here are some of the most common concerns—and their simple solutions—to help you preserve those golden petals like a pro.
How long does it take to dry calendula flowers?
Drying calendula flowers typically takes 1 to 3 weeks, depending on your method. Air-drying (hanging upside down in a dark, dry spot) is the slowest but gentlest. Speed up the process with a dehydrator (4–6 hours at 95°F) or an oven (1–2 hours on low heat). Patience pays off—rush it, and the petals may crumble!
Can I dry calendula flowers in the sun?
Direct sunlight is a no-go! UV rays can bleach the petals, turning them dull or brown. Instead, choose a shady, well-ventilated spot like a closet, mesh bag, or drying rack. If humidity is high, add a silica gel packet or a small fan to speed up drying while preventing mold.
What’s the best way to store dried calendula?
Store dried calendula in airtight containers—think glass jars, tin boxes, or resealable bags—to lock in freshness. Keep them in a cool, dark place (like a pantry) to prevent moisture and light from degrading the petals. Properly stored, they’ll stay vibrant for up to 1 year!
Can I use dried calendula for tea or skincare?
Dried calendula is perfect for herbal teas (steep 1 tsp per cup), salves, infused oils, and even homemade skincare. Just ensure the petals are completely dry (no moisture = no mold). For salves, crush them finely for better infusion—just avoid inhaling the powder!
What if my calendula flowers get moldy?
Mold is a sign of too much humidity. If you spot fuzzy spots, discard the batch immediately—moldy petals can’t be salvaged. To prevent this, check humidity levels (aim for <40%) and avoid sealing flowers in plastic bags until fully dry. A dehumidifier or silica gel can be lifesavers!
Are there alternatives to traditional drying methods?
Yes! If you’re short on time or space, try these quick methods:
- Microwave: Spread petals on a paper towel, cover with another towel, and zap for 1–2 minutes on low heat. Monitor closely!
- Food dehydrator: Set to 95°F for 4–6 hours—gentler than an oven.
- Silica gel: Mix petals with silica beads (1:2 ratio) for 24–48 hours—great for crafts!
Wrapping up and next steps
Drying calendula flowers is a simple yet rewarding way to preserve their beauty and benefits for months to come!
Whether you’re crafting soothing salves, brewing healing tea, or adding a pop of color to your projects, these vibrant petals are a versatile treasure. Start small, experiment with methods, and enjoy the process—your future creations will thank you!
Ready to dive in? Gather your flowers, pick your drying method, and let the magic unfold! 🌼✨