Flowers
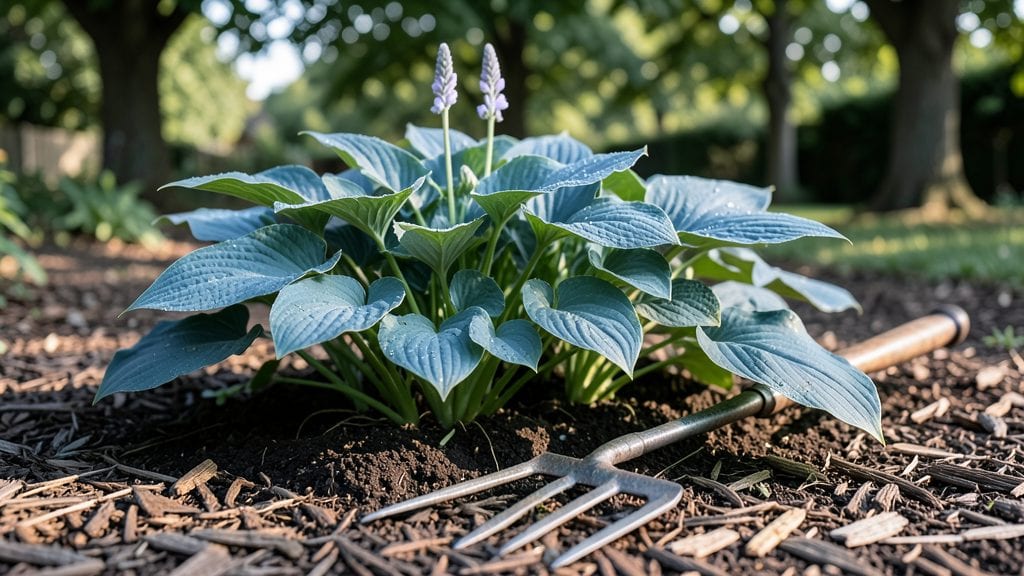
Preparing flower beds transforms dull patches into vibrant displays that keep blooming from spring through frost. ✨ I’ve turned my own tired backyard into a year-round showcase—no fancy skills required.
The secret lies in soil prep, smart layout, and timing that matches your climate. Most people skip the foundation work and wonder why their flowers underperform.
Start with a soil test (kits cost under $20) to know what your beds need—most gardens benefit from compost or aged manure. Clear weeds by hand or with a hoe, then mark your design with spray paint or stakes before digging.
A well-planned bed saves time later and looks intentional right away. For best results, prep in early spring or fall when soil is workable but not soggy.
You’ll end up with beds that bloom earlier, longer, and with less fuss—think roses in May, dahlias in August, and winter pansies holding their color through snow. The key is mulching after planting to suppress weeds and retain moisture, plus a light top-dressing of compost each season.
Even my first attempt looked better than the store-bought arrangements I used to buy.
This method works for small borders, large landscapes, or even container gardens—just scale the tools. The only real mistake is waiting until summer to start. Let’s get your beds ready for a season of effortless color.
📚 In This Guide
- What you need
- Instructions
- Tips and common mistakes
- Wrapping up and next steps
What you need
- ● Garden soil or compost: 2–3 cubic yards (enough to fill a 4’x8’ bed to a depth of 6–12 inches). Opt for a high-quality, well-draining mix or blend your own with topsoil + compost (2:1 ratio).
- ● Mulch: 2–3 bags (straw, shredded bark, or pine needles). Aim for 2–4 inches once spread.
- ● Organic fertilizer: 1–2 bags (slow-release, like 10-10-10 or compost-based). Follow package rates for best results.
- ○ Edging material (optional but recommended): Metal or plastic edging strips (for clean lines)
- ● Bricks, stones, or landscape fabric (for natural or permanent borders)
- ● Garden shovel or spade: For digging and turning soil.
- ● Garden fork: Breaks up compacted soil effortlessly.
- ● Rake: A sturdy bow rake for leveling and smoothing.
- ● Wheelbarrow: For hauling soil, mulch, or debris (1–2 cubic feet capacity).
- ● Gloves & knee pads: Protect your hands and joints—waterproof gloves are a game-changer!
- ● Water hose with nozzle: For rinsing tools and wetting soil before planting.
- ● Measuring tape or string: To mark out your bed dimensions accurately.
- ○ Pruners (optional): For trimming weeds or old plants before prepping.
- ● Choose the right location: Ensure your bed gets 6+ hours of sunlight daily (adjust for shade-loving plants). Avoid low spots where water pools.
- ○ Test your soil (optional but helpful): A pH test kit ($10–$15) reveals if your soil is acidic, alkaline, or neutral—key for picking the right plants!
- ● Plan your design: Sketch a rough layout or use garden markers to map out plant placements before digging.
- ● Timing matters: Prep beds in early spring or fall for optimal root growth. Avoid working wet soil!
Step-by-Step guide for preparing flower beds
Here's how to transform any space into a thriving garden with just a few key steps.
🌱 Step 1: Clear and Mark Your Flower Bed
Start by removing any existing plants, weeds, or debris from the area. I like to use a sturdy garden fork to loosen stubborn roots—this prevents them from competing with your new flowers. Once cleared, outline the bed with landscape fabric or a simple string line to define your space. This keeps things tidy and helps you visualize the final layout.
Real talk: If you're working with grass, consider laying down cardboard first. It smothers weeds without chemicals and breaks down over time, enriching the soil naturally. Just make sure to overlap edges by at least 2 inches to block light completely.
🌿 Step 2: Test and Amend the Soil
Dig a small hole in the center of your bed and grab a handful of soil. If it clumps tightly when wet or feels like sand when dry, you'll need to improve it. Most flower beds benefit from a 2- to 3-inch layer of compost mixed into the top 6 inches of soil. This boosts drainage, aeration, and nutrient availability—everything flowers crave.
For heavy clay soil, add coarse sand or perlite to break up compaction. If your soil is sandy, incorporate peat moss or coconut coir to help retain moisture. A simple pH test kit tells you if you need lime (to raise pH) or sulfur (to lower it)—most flowers thrive in a slightly acidic to neutral range of 6.0 to 7.0.
💧 Step 3: Till or Loosen the Soil
Use a broadfork or tiller to break up the soil to a depth of 8 to 12 inches. The goal is to create a loose, crumbly texture that encourages root growth. I always work the soil when it's slightly damp—not bone dry, not soggy. You'll know it's ready when it forms a loose ball that crumbles easily between your fingers.
Here's the thing—don't over-till. Excessive turning can destroy soil structure and beneficial microorganisms. A few passes with a fork is often enough for flower beds. If you're planting perennials, consider "no-dig" gardening: just top-dress with compost and mulch instead of digging deeply.
☀️ Step 4: Add Organic Mulch
Spread a 2- to 3-inch layer of organic mulch—like shredded bark, straw, or wood chips—over the soil surface. This conserves moisture, suppresses weeds, and keeps roots cool in summer. I prefer mulch with a coarse texture because it breaks down more slowly and doesn't mat down like fine sawdust.
Leave a small gap around plant stems to prevent rot, and avoid piling mulch directly against trunks or crowns. For beds with annuals, reapply mulch every few months as it decomposes. The best mulch is what you have on hand—just avoid anything treated with chemicals.
⏰ Step 5: Plan and Plant Strategically
Before adding any plants, sketch a rough layout based on mature plant sizes. Tall flowers like delphiniums go in the back, while low-growing annuals like pansies take the front. Group plants with similar water needs together to simplify maintenance. This ensures your bed looks balanced and thrives with minimal effort.
If you're planting perennials, consider their long-term growth habits. Some, like peonies, need full sun and room to spread, while others, like hostas, prefer partial shade. A quick note on spacing: Follow the plant tag's recommendations, but don't crowd—roots need space to breathe and access nutrients.
Tips & tricks for perfect flower bed preparation
Transforming your outdoor space into a thriving garden starts with these practical tricks that'll save you time and frustration.
Weed Control Secret: In Step 1, when clearing your flower bed, don't just pull weeds—cut them off at ground level. This prevents regrowth and reduces the need for repeated weeding. For stubborn weeds, apply a thin layer of corn gluten meal after clearing, which acts as a natural pre-emergent herbicide while also providing nitrogen to the soil.
Soil Testing Shortcut: Instead of buying a pH test kit, use this simple trick in Step 2: Grab a handful of moist soil and rub it between your fingers. If it feels gritty and falls apart easily, you likely have sandy soil. If it forms a tight ball that cracks when you poke it, you probably have clay. This helps determine whether you need to add sand or organic matter.
Mulch Application Technique: When adding that 2- to 3-inch layer of mulch in Step 4, create a small well around each plant stem before applying. This prevents water from pooling against the base, which can cause rot. Also, leave a 1-inch border around the edges of your bed to keep mulch contained and prevent it from spreading into pathways.
Plant Layout Pro Tip: For Step 5, before sketching your layout, visit a local nursery and arrange your plants on the ground in their containers. This gives you a realistic sense of scale and helps you visualize how they'll look when mature. Bring a tape measure to ensure proper spacing—most plants need at least 12 inches between them for good air circulation.
Pro Tips for Preparing Flower Beds
- Transforming your outdoor space into a thriving garden starts with these practical tricks that'll save you time and f...
- Weed Control Secret: In Step 1, when clearing your flower bed, don't just pull weeds—cut them off at ground level. Th...
- Soil Testing Shortcut: Instead of buying a pH test kit, use this simple trick in Step 2: Grab a handful of moist soil...
Frequently asked questions
When is the best time to prepare flower beds?
The ideal time depends on your climate! In mild winters, tackle prep in early spring (before planting) or fall (6-8 weeks before frost). In harsh winters, focus on late winter or early spring—just avoid working soggy soil. Pro tip: Cover bare soil with mulch in winter to protect roots!
How long does it take to prepare a flower bed?
Prep time varies by size and soil condition:
- Small bed (3’x3’): 1–2 hours (weeding, amending soil, edging).
- Medium bed (5’x5’): 3–4 hours (adds digging/decomp action).
- Large bed (10’x10’+) or poor soil: Half-day or split over 2 days.
Can I skip soil amendments if my soil looks fine?
Even "good" soil benefits from a boost! Test your soil (kits cost ~$10) to check pH and nutrients. If it’s compacted, clay-heavy, or nutrient-poor, add:
- Compost (1–2 inches) for organic matter.
- Sand or perlite (for drainage in clay soil).
- Bone meal or fertilizer (for hungry plants like roses).
What’s the easiest way to remove weeds without chemicals?
Try these low-effort, eco-friendly methods:
- Solarization: Cover weeds with clear plastic for 4–6 weeks (sun bakes them!).
- Vinegar spray: Mix 1 gallon vinegar + 1 cup salt + 1 tbsp dish soap; spray on weeds (avoid desirable plants!).
- Hand-pulling: Grab weeds at the base (roots included) after rain when soil is soft.
Do I need fancy tools, or will basic ones work?
You can start with just 5 basics:
- Garden fork (for aerating soil).
- Garden trowel (for edging/planting).
- Gloves (to protect your hands— trust us!).
- Rake (for leveling and debris).
- Wheelbarrow (for hauling amendments/mulch).
Wrapping up and next steps
Preparing your flower beds doesn’t have to be a daunting task—just a few thoughtful steps can transform your outdoor space into a vibrant, low-maintenance haven. 🌸 From clearing debris to enriching the soil, each action sets the stage for stunning blooms year-round.
With the right tools and a little patience, you’ll enjoy a garden that thrives with minimal effort.
Now that you’re armed with the know-how, roll up your sleeves and get started! Begin by tackling one section at a time—your future floral masterpiece is just a shovel’s throw away. Happy gardening! 🌱