
Container Gardens
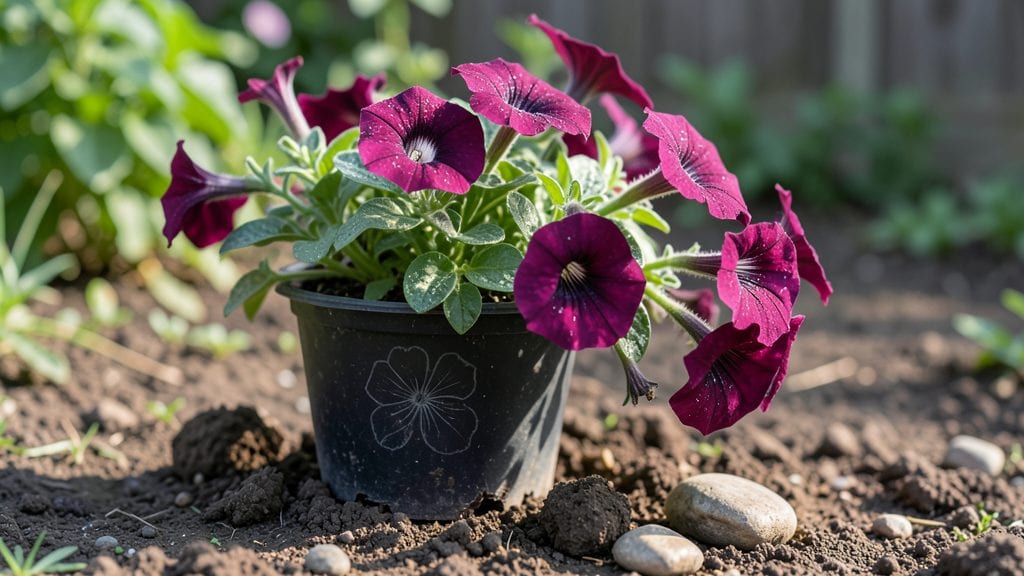
When flower pots spill, the first panic is always about the plants—but I’ve learned that quick action saves more than you’d think. 🌱 The key is acting fast: scoop up the soil, check for root damage, and repot before the roots dry out.
I’ve revived plants that looked hopeless with this method, and you can too.
Start with a sturdy container—plastic or ceramic—big enough to hold the plant’s roots without crowding. Use fresh potting mix, not garden soil, to prevent compaction. If the roots look tangled, gently tease them apart with your fingers, but don’t force it. Most plants bounce back faster than you’d expect.
After repotting, water thoroughly but avoid soggy soil—drainage holes are your friend here. Place the pot in a spot with similar light conditions to where it was before the spill. Within a week, you’ll see new growth, and the plant will look like it never took a tumble.
To prevent future accidents, check your pots’ stability—uneven surfaces or wind can be the culprits. Add weights like pebbles to the bottom or secure them with stakes if needed. A little prep now means fewer spills (and fewer stressed plants) later.
📚 In This Guide
- What you need
- Instructions
- Tips and common mistakes
- Wrapping up and next steps
What you need
- ● Damaged flower pots: Any size or material (terracotta, plastic, or ceramic). Quantity: 1 or more (depending on how many you’re reviving).
- ● Sandpaper (medium-grit, 120-150): For smoothing rough edges or chipped surfaces.
- ● Paint or outdoor-safe sealant: Acrylic paint (for decorative touch-ups) or waterproof sealant (for protection). Tip: Choose colors that match your garden’s vibe!
- ○ Drill (optional but helpful): With a drainage bit (¼-inch) to add or enlarge drainage holes if needed.
- ● Potting soil: High-quality, well-draining mix (e.g., Miracle-Gro Potting Mix or Black Gold Natural & Organic). Quantity: Enough to fill your pots 2/3 full.
- ● New plants or seeds: Choose plants suited for container gardening (e.g., herbs, succulents, or trailing flowers like petunias).
- ● Watering can or hose: With a gentle spray nozzle for even hydration.
- ○ Gloves (optional): To protect your hands from dirt or sharp edges.
- ● Decorative pebbles or mosaic tiles: For a stylish base layer in your pots.
- ● Epoxy or spackle: For repairing deep cracks or broken sections.
- ● Stencils or sticker templates: To add custom designs to repainted pots.
- ● Plant markers: Chalkboard labels or wooden tags for labeling your greens.
- ● Slow-release fertilizer: Mix into soil for a nutrient boost (e.g., Osmocote Smart-Release).
Step-by-Step instructions for reviving spilled flower pots
Here's how to rescue your toppled plants and turn broken pots into new growing spaces.
🪴 Step 1: Assess the Damage and Salvage What You Can
First, gently lift the spilled plants from the broken pot fragments. Shake off excess soil and check each root carefully. Healthy roots should be firm and white—any mushy or brown sections need trimming with clean scissors. Here's the thing—even if the pot is shattered, the plants might still recover if their roots stayed intact.
For whole plants, place them in a clean container with water for 10-15 minutes to help them rehydrate. This gives roots a chance to recover from the sudden shock of being uprooted. If you find broken stems, don't force them back together—snip the damaged parts cleanly and let new growth emerge from healthy tissue.
💧 Step 2: Clean and Sterilize Your New Growing Space
Before repotting, wash all remaining pot pieces with soapy water to remove old soil and debris. Rinse thoroughly and let them dry completely in the sun—UV light helps kill any lingering pathogens. If you're using a completely new container, scrub it with a 10% bleach solution (1 part bleach to 9 parts water) for 5 minutes, then rinse well. This prevents disease from spreading to your rescued plants.
I like to arrange the broken pot pieces into a shallow, wide container—think of it like a puzzle where the edges create natural drainage. Line the bottom with ¼-inch gravel if your new setup lacks holes. This ensures excess water can escape, which is critical for preventing root rot in rescued plants that may already be stressed.
☀️ Step 3: Repot with Fresh Soil and Support
Fill your salvaged or cleaned container with new potting mix—never reuse old soil from the broken pot, as it may harbor fungi or pests. Moisten the soil lightly until it's damp but not soggy to the touch. Gently place each plant into the new container, spreading roots outward rather than bunching them. Here's where it gets fun—watch how the broken pot pieces create natural tiers for drainage and aeration.
For plants that were severely uprooted, mix a tablespoon of perlite into the soil to improve drainage. Water lightly after repotting, just enough to settle the soil around the roots. Avoid heavy watering for the first 24 hours—this gives roots time to establish without drowning in sudden moisture. You'll know it's right when the soil surface looks slightly damp but not glistening.
⏰ Step 4: Provide Recovery Care and Monitor Progress
Place your repotted plants in bright, indirect light for the first 3-5 days. Avoid direct sun, which can stress already fragile plants. If you notice leaves wilting or yellowing, that's normal—it's their way of adjusting. Water only when the top inch of soil feels dry, and do so at the base to avoid disturbing delicate roots.
After a week, gradually introduce them to their usual light conditions. You'll see new growth emerging within 10-14 days—that's your signal everything is working. Here's the moment that matters: if any stems remain limp or blackened, trim them back immediately to encourage fresh, healthy growth. Real talk: some plants may not make it, but others will bounce back stronger than ever.
🌿 Step 5: Repurpose Broken Pieces for Future Projects
Save any unusable pot shards for creative projects like vertical garden accents or edging for pathways. Rinse them clean and let them dry completely before storing. I've used broken terra cotta pieces as natural mulch around base plants—they break down slowly and add minerals to the soil over time. Don't toss them out; every fragment has another purpose in the garden.
For larger broken sections, consider using them as plant markers or mini planters for herbs. Fill them with fresh soil and a single seedling—it's a great way to give new life to what might have seemed like waste. You've got this: turning "broken" into "beautiful" is what gardening is all about.
Tips & tricks for perfectly reviving spilled flower pots
Here's what nobody tells you about bringing toppled plants back to life—and how to turn broken pots into something even better.
Root Assessment: When checking roots in Step 1, focus on the tips rather than the entire root system. Healthy roots should feel firm with a slight springiness, almost like a fresh carrot. If you see any brown or mushy sections, trim them back to clean, white tissue with sharp scissors—this prevents disease from spreading to the healthy parts. Confession: I skipped this step once and ended up with a plant that refused to recover, so don't make my mistake!
Soil Sterilization Shortcut: For Step 2, if you don't have time to let pot pieces dry in the sun, pop them in a microwave-safe bowl with water and microwave for 2 minutes on high. This kills pathogens just as effectively. Just make sure to rinse them thoroughly afterward—microwaving can leave mineral deposits. The 5-minute bleach soak is still your best bet for new containers, though.
Drainage Design: In Step 3, think of your broken pot pieces like a natural drainage system. Arrange the largest, flattest pieces at the bottom to create a stable base, then stack smaller pieces around the edges. This creates air pockets that prevent waterlogging while still holding moisture for the roots. I've found this setup works especially well for succulents that need both drainage and humidity.
Recovery Timeline: The 24-hour watering restriction in Step 3 might seem strict, but trust me on this—it's what helps roots establish properly. After repotting, place your containers on a tray to catch any excess water that might escape. This gives you a visual cue: if you see water pooling after 24 hours, your drainage system needs adjustment.
Pro Tips for Spilled Flower Pots
- Here's what nobody tells you about bringing toppled plants back to life—and how to turn broken pots into something even better.
- Root Assessment: When checking roots in Step 1, focus on the tips rather than the entire root system.
- Soil Sterilization Shortcut: For Step 2, if you don't have time to let pot pieces dry in the sun, pop them in a microwave-safe bowl with water and microwave for 2 minutes on high.
Frequently asked questions
Got questions about salvaging those spilled flower pots? You’re not alone—let’s tackle the most common concerns so you can turn mess into greenery in no time!
What should I do immediately after my flower pot spills?
Act fast! First, remove any broken pieces to prevent further damage. If soil is still damp, gently rake it smooth and reposition plants. For dried soil, break up clumps and redistribute evenly. Pro tip: Check roots—if they’re tangled, untangle them before replanting!
Can I reuse the spilled soil, or should I replace it?
Spilled soil is usually fine if it’s not contaminated (e.g., no pests or mold). Sift it to remove debris, then mix with fresh potting soil (1:1 ratio) for better aeration. Replace it only if it’s rock-hard, waterlogged, or infested. Compost old soil to enrich future gardens!
How long do spilled plants take to recover?
Most plants bounce back in 1–3 weeks with proper care. Keep them in indirect light and water lightly until roots re-establish. Succulents and herbs recover fastest, while delicate flowers (like petunias) may need extra patience. Monitor for wilting—adjust watering if soil stays soggy.
What are the best alternatives if my pot is beyond repair?
No pot? No problem! Repurpose:
- Buckets or basins (add drainage holes)
- Fabric grow bags (for root health)
- DIY wooden boxes (line with landscape fabric)
- Hanging baskets (for trailing plants)
Why are my plants dying even after fixing the spill?
Common culprits: overwatering (root rot), underwatering (dry roots), or nutrient loss in old soil. Troubleshoot:
- Check soil moisture (stick your finger 1" deep)
- Fertilize lightly with balanced 10-10-10 if leaves yellow
- Prune dead foliage to redirect energy
Wrapping up and next steps
Don’t let a spilled flower pot end up in the trash—turn it into a fresh start for your garden!
Whether you’re reviving wilted plants or repurposing broken pots, these steps prove that accidents can spark creativity. 🌱 With just a little effort, you’ll transform "oops" moments into thriving greenery or stylish decor.
Ready to green-thumb up your space? Grab your supplies and try one of these projects today—your plants (and future DIY projects) will thank you! 💚