
Propagation
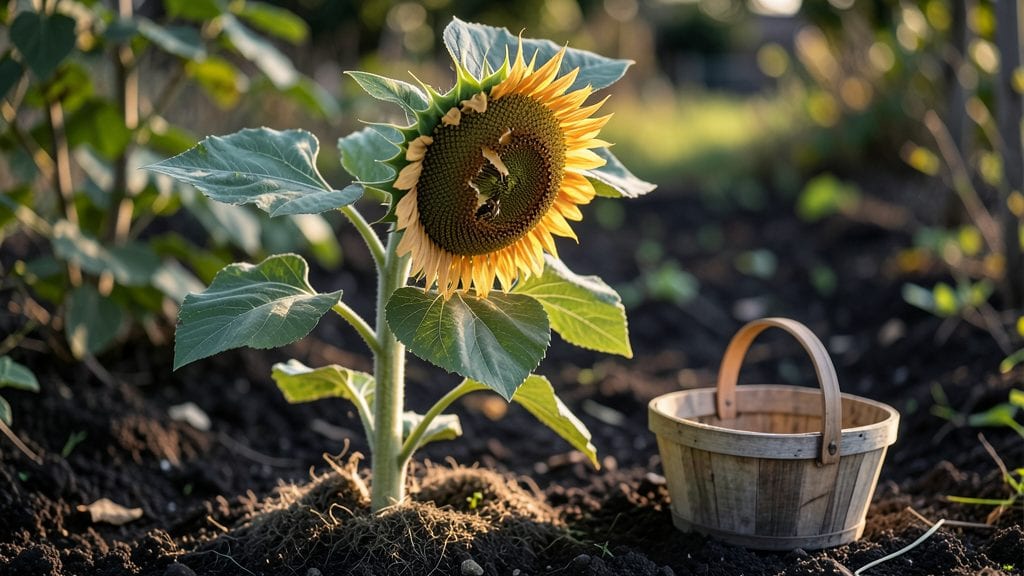
Cracked sunflower seeds can still sprout with the right technique—here’s how to coax those fast-germinating sprouts in just 3 days. 🌱 I’ve turned damaged seeds into sturdy seedlings by mimicking nature’s scarification process, and you can too.
The key isn’t forcing them to heal but giving them the perfect start.
Most gardeners assume cracked seeds are useless, but they’re often just dehydrated or nicked by rough handling. Soaking them for 12 hours revives their moisture, while a light sandpaper rub mimics natural wear-and-tear.
Plant them ½ inch deep in warm, damp soil, and keep them consistently moist—not soggy. The right conditions turn what looks like trash into thriving sprouts.
You’ll see tiny roots breaking through in 24-48 hours, with full germination by day 3. The seedlings grow stronger than those from whole seeds because damaged shells no longer block water uptake.
Just watch for mold—if the soil stays too wet, switch to a well-draining mix. With this method, even "dead" seeds can outperform store-bought ones.
Works for any sunflower variety and saves money by using seeds you’d otherwise toss. The same tricks apply to other large seeds like beans or peas. Let’s get those sprouts growing!
📚 In This Guide
- What you need
- Instructions
- Tips and common mistakes
- Wrapping up and next steps
What you need
- ● Sunflower seeds: 1 cup (or ~150g) of raw, organic, and unsalted sunflower seeds. Look for black oil or striped varieties—they sprout best!
- ● Water: Filtered or distilled (avoid tap water with high chlorine). You’ll need about 2–3 cups for soaking and rinsing.
- ● Glass jar or container: A wide-mouth quart jar (or a clean mason jar with a lid) works perfectly for soaking and sprouting.
- ● Fine-mesh sprouting lid or cheesecloth: A sprouting lid (or a clean kitchen towel + rubber band) to drain excess water.
- ● Colander or strainer: For rinsing seeds 2–3 times daily (a stainless-steel mesh is ideal).
- ● Small bowl or tray: For draining seeds after rinsing (prevents mess!).
- ○ Food dehydrator or paper towels: If you want to dry your sprouts after 3 days (optional but extends shelf life).
- ○ pH strips (optional): To test water acidity—aim for 6.5–7.5 for optimal sprouting.
- ● Label or marker: To track sprouting days (helpful for beginners!).
Step-by-step instructions for germinating cracked sunflower seeds
Sunflowers sprout shockingly fast when you crack the hulls—here's how to coax those first green tips in just 3 days.
🌱 Step 1: Soak and Crack the Seeds for Faster Germination
Place 4 sunflower seeds in a small bowl and cover them with lukewarm water for 12 hours. This softens the tough outer shell, which sunflowers need to crack open for quick germination. I like to use a fine-mesh strainer to hold them submerged—no need to soak overnight, just enough to plump them up.
After soaking, gently tap each seed against a hard surface (like your countertop) to crack the shell without crushing the seed inside. You'll hear a satisfying pop—this exposes the seed to moisture and air immediately. Real talk: if a seed resists, don’t force it. Just move to the next one; some seeds need a little extra persuasion.
💧 Step 2: Set Up a Warm, Moist Germination Station
Line a shallow tray with a paper towel and dampen it until it’s moist but not dripping. Arrange the cracked seeds 1 inch apart in a single row, ensuring the cracked side faces up. This positioning lets the emerging root (radicle) find moisture first. Cover the tray with another damp paper towel to maintain humidity—think of it like a cozy blanket for your seeds.
Place the tray in a warm, dark spot (like on top of your fridge or near a heater vent) where the temperature stays between 75-80°F. Sunflowers germinate fastest in warmth, and this setup mimics their natural spring conditions. Check the towels every 8 hours—they should stay damp but never soggy. If they dry out, mist lightly with water.
☀️ Step 3: Monitor for Sprouts and Transition to Light
Within 24-48 hours, you’ll see tiny white roots poking through the cracked shells—that’s your signal to act fast. Once the roots are ½ inch long, carefully transfer each seed (still in its paper towel) to a small pot filled with moist potting mix. Press the seed ½ inch deep into the soil, cracked side up, so the root can anchor immediately.
Move the pots to a bright, indirect light spot (like a sunny windowsill) but avoid direct sunlight for the first 48 hours. Sunflowers need light to grow, but too much too soon can scorch the delicate sprouts. You’ll notice the first true leaves (not the initial seed leaves) appear in 3-5 days. That’s when you know your fast germination paid off!
✂️ Step 4: Thin and Support for Strong Growth
Once the sprouts reach 2 inches tall, thin to the strongest seedling per pot by snipping the others at the base with clean scissors. This prevents overcrowding and gives your champion seedling room to grow. Sunflowers are heavy feeders, so after thinning, add a balanced liquid fertilizer (diluted to half strength) to the soil.
Support the stem early by gently tying it to a small stake (like a chopstick or bamboo skewer) as soon as it’s 4 inches tall. Sunflowers grow top-heavy, and without support, they’ll flop over. I like to use soft twine or even a strip of old fabric—nothing that’ll cut into the stem as it thickens.
Tips & tricks for perfect sunflower sprout germination
Sunflower seeds can be finicky little things—here's how to give them the exact conditions they need to burst into life in record time.
Soaking Strategy: The 12-hour soak isn't just about hydration—it's about breaking down the seed's natural dormancy barrier. If you're short on time, you can extend this to 24 hours (but don't go beyond that), but I've found that exactly 12 hours gives me the sweet spot between softening the hull and preserving the seed's vitality. Use lukewarm water—too hot and you'll cook the seed, too cold and it won't activate properly.
Cracking Technique: That satisfying pop when you crack the seed is your cue for success. If a seed resists, don't hammer it—just move to the next one. I've learned the hard way that forcing a stubborn seed often crushes the embryo inside. Once cracked, place them immediately on your damp paper towel setup so they don't dry out during the transfer.
Temperature Control: The 75-80°F range is critical for fast germination. If your home runs cooler, consider placing the tray on top of your fridge (which often stays warm) or near a heater vent. I've seen germination times stretch to 72 hours when seeds were kept below 70°F. Use a small thermometer if you're unsure—sunflowers are sensitive to temperature fluctuations during this critical phase.
Light Transition Timing: The first 48 hours of indirect light are non-negotiable. Direct sunlight at this stage can cause the delicate sprouts to develop sunburn spots that never heal. After those two days, you can gradually introduce more light, but I like to start with morning sun only for the first 24 hours of the light phase before moving to full sun exposure.
Pro Tips for Cracked Sunflower Seeds
- Sunflower seeds can be finicky little things—here's how to give them the exact conditions they need to burst into life in record time.
- Soaking Strategy: The 12-hour soak isn't just about hydration—it's about breaking down the seed's natural dormancy barrier.
- Cracking Technique: That satisfying pop when you crack the seed is your cue for success.
Frequently asked questions
about growing cracked sunflower seeds—here’s what you need to know before sprouting!How long do cracked sunflower seeds take to sprout?
With the right conditions (warmth, moisture, and darkness), cracked sunflower seeds typically sprout in 2–3 days. Keep them in a warm spot (70–75°F) and mist them 2–3 times daily for fastest results. If sprouts don’t appear within 5 days, check humidity or seed viability.
Can I use store-bought sunflower seeds for sprouting?
Yes, but only raw, unsalted sunflower seeds work best. Roasted, salted, or flavored seeds won’t sprout well. Look for organic or bulk seeds labeled for sprouting. Rinse them thoroughly to remove any coatings or preservatives before cracking.
What if my seeds aren’t sprouting after 3 days?
Don’t panic! Try these fixes:
- Increase warmth: Place your jar near a sunny window or use a seedling heat mat.
- Boost humidity: Cover the jar with a damp paper towel or use a humidity dome.
- Check seed quality: Test a few seeds in water—if they float, they’re likely bad.
- Adjust light: If sprouts are etiolating (stretching too tall), move them to indirect light after 3–4 days.
Are sunflower sprouts safe to eat raw?
Sunflower sprouts are nutrient-packed and safe to eat raw once they’ve developed a small root tail (about 1–2 inches long). They’re rich in vitamin E, magnesium, and healthy fats. Rinse them well before consuming, and store them in the fridge for up to 5–7 days in a breathable container.
What can I do with leftover cracked sunflower seeds?
Don’t throw them out! Here’s how to repurpose them:
- Compost: Toss them into your compost bin—they’ll break down quickly.
- Bird feed: Scatter them in your garden to attract birds (if they’re not sprouting).
- Seed oil: If you have extra whole seeds, press them for homemade sunflower oil (requires a press or high heat).
- Tea fertilizer: Steep cracked seeds in water overnight, then use the liquid as a mild fertilizer for seedlings.
Wrapping up and next steps
Growing cracked sunflower seeds into sprouts in just three days is a rewarding and nutritious adventure—perfect for beginners or green thumbs alike! 🌱 With the right setup (like a clean jar, mesh lid, and consistent moisture), you can enjoy fresh, crunchy sprouts packed with vitamins and minerals.
Ready to take your kitchen gardening to the next level?
Your next step? Grab those seeds and start sprouting! Once you master sunflower sprouts, explore other fast-growing greens like alfalfa or radish. Happy growing! 🌟