
Watering
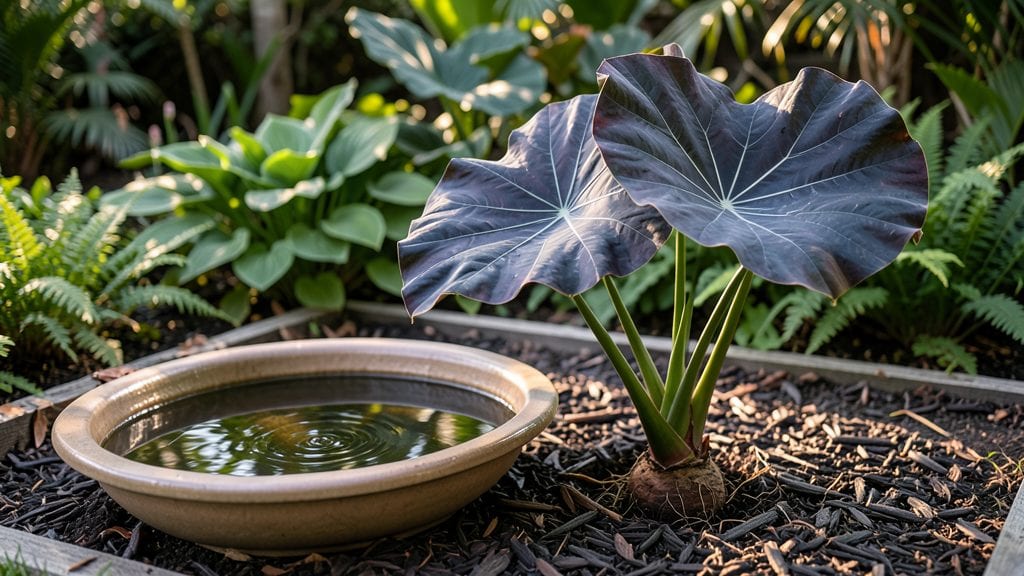
A water trough flower bed turns old farm equipment into a thriving pollinator magnet. 🌸 I stumbled on this idea after finding a rusted trough at a farm sale—now it’s the star of my backyard, overflowing with milkweed and coneflowers that hum with bees all summer.
The best part? It’s free, functional, and transforms neglected metal into living art.
You’ll need a sturdy trough (or repurpose one), drainage holes, potting soil, and plants that love shallow roots—like lavender, sedum, or native wildflowers. Line the bottom with landscape fabric to prevent clogging, then fill with a mix of soil and compost.
Place it where it catches morning sun, and watch it become a magnet for butterflies and bees within weeks.
Imagine sipping lemonade while monarchs flutter past your fingertips, all from a planter that costs nothing but elbow grease. The rustic charm ages beautifully, and the shallow soil stays moist longer than raised beds. Plus, you skip the heavy lifting of traditional planters—just lift the edge to water or prune.
Works in any yard, from country homesteads to city balconies. Here’s how to turn that old trough into your garden’s newest conversation piece—without breaking the bank or the back.
📚 In This Guide
- What you need
- Instructions
- Tips and common mistakes
- Wrapping up and next steps
What you need
- ● Water trough: 1 large, clean, and sturdy trough (plastic, metal, or wood; 3–5 feet long for optimal space).
- ● Drainage holes: Drill bit (if modifying a non-porous trough) and safety goggles.
- ● Gravel or pebbles: 1–2 bags (½–1 inch size) for drainage at the bottom.
- ● Potting soil: 1–2 bags (moisture-retentive, well-draining mix; avoid heavy clay soil).
- ● Native pollinator plants: 3–5 plants (e.g., coneflowers, milkweed, or bee balm; choose varieties suited to your climate).
- ○ Mulch: Optional but recommended (e.g., pine straw or shredded bark to retain moisture).
- ● Garden gloves (to protect your hands from sharp edges or soil).
- ● Trowel or shovel (for planting and soil adjustments).
- ● Watering can or hose (with a gentle spray nozzle).
- ○ Decorative elements (optional): Pebbles or river rocks (for a polished look).
- ● Mini solar lights (for evening ambiance).
- ● Paint or stain (to customize your trough).
- ● 🌡️ Location matters: Place your trough in partial sun (6+ hours of sunlight daily) for most pollinator plants.
- ● ✨ Prep your trough: If using metal, line it with a plastic liner to prevent rust and leaks.
- ● 🐝 Pollinator power: Group plants with similar water needs to simplify care.
Step-by-Step instructions for creating a water trough flower bed
Transforming an old trough into a thriving pollinator haven is simpler than you'd think.
🪴 Step 1: Prepare the Trough for Planting
Start by cleaning the trough thoroughly with a 50/50 vinegar and water solution—this removes any old debris, algae, or chemical residues that could harm plants. Scrub with a stiff brush, then rinse completely. For drainage, drill ¼-inch holes along the bottom using a power drill with a metal bit. Space them 6 inches apart to prevent soil from washing out while allowing excess water to escape.
Here's the thing—if your trough has metal edges, line the interior with landscape fabric before adding soil. This prevents rust from leaching into the planting mix, which can stunt root growth. Cut the fabric to fit snugly, leaving a 1-inch overhang at the top to secure it later. I always use 100% polypropylene fabric because it won't break down quickly like burlap.
🌱 Step 2: Layer Soil and Add Drainage Material
Fill the bottom 2 inches deep with coarse gravel or crushed stone—this ensures proper drainage and prevents soil compaction. Use the 3 gallons of potting mix you've prepared (blended with 1 part perlite for aeration) to create a 4-inch layer over the gravel. Press down lightly to settle the mix, but don't compact it. You want roots to grow freely, not struggle through dense soil.
For a pollinator-friendly design, I like to add a 1-inch layer of compost mixed into the top 2 inches of soil. This boosts microbial activity and gives early-season plants a nutrient kick. Water the soil thoroughly after layering—it should feel evenly moist but not soggy. If it clumps when squeezed, add a bit more perlite to lighten the mix.
☀️ Step 3: Select and Plant Pollinator-Friendly Flowers
Choose plants that thrive in partial to full sun (6+ hours daily) and tolerate occasional dry spells, like coneflowers, black-eyed Susans, or bee balm. For your 4-plant setup, dig 4 holes spaced 8-12 inches apart—this gives roots room to establish without crowding. Gently remove each plant from its nursery pot, tease the roots if they're circling, and place it in the hole at the same depth it was growing before.
Here's where it gets fun—watch the soil level as you plant. The top of the root ball should sit ½ inch below the trough's rim. This prevents water from spilling over during heavy rains while keeping the crown of the plant above potential standing water. Backfill with soil, pressing lightly around each stem to remove air pockets. Water deeply right after planting to settle everything in.
💧 Step 4: Water and Mulch for Long-Term Success
Water the trough deeply for 10 minutes after planting to encourage roots to spread into the new soil. Let the water drain completely before adding 2 inches of mulch (like shredded bark or straw) on top. Mulch retains moisture, regulates soil temperature, and suppresses weeds—critical for a low-maintenance pollinator garden. Keep the mulch 2 inches away from plant stems to prevent rot.
Real talk: Overwatering is the #1 killer of trough gardens. After the initial watering, check moisture by sticking your finger 1 inch into the soil. Water again only when it feels dry. Most pollinator plants prefer moderate moisture—they'll tell you when they're thirsty by wilting slightly in the afternoon. A well-established trough might only need watering once a week during dry spells.
⏰ Step 5: Maintain and Enjoy Your Pollinator Paradise
In the first 2-3 weeks, monitor for signs of stress like yellowing leaves or wilting. These usually mean either underwatering or overwatering. Adjust your routine based on what you see. Once plants are established, fertilize lightly with a balanced, slow-release fertilizer (like 10-10-10) in early spring and again after flowering. This keeps growth steady without burning delicate roots.
This is the moment that matters: By mid-summer, your trough will buzz with bees, butterflies, and hummingbirds. Deadhead spent blooms regularly to encourage continuous flowering. If you notice leaves curling or holes in foliage, it's a sign of pests—but don't panic. A strong spray of water usually dislodges aphids or spider mites without chemicals. Your pollinator friends will thank you for the safe haven!
Tips & tricks for perfect water trough flower beds
Common pitfalls—and how to sidestep every one when creating your pollinator paradise.
Drainage is Non-Negotiable: Those ¼-inch holes spaced 6 inches apart in Step 1 aren't just suggestions—they're essential. I've seen troughs fail spectacularly when drainage is ignored, leading to root rot within weeks. If you're working with a heavy clay trough, consider adding a second layer of holes near the edges for even better water flow.
Soil Science Matters: The 4-inch layer of potting mix with perlite in Step 2 is your foundation, but don't skimp on the quality. I recommend mixing in 1 part compost to every 3 parts potting mix—this boosts microbial life and gives your pollinators a nutrient-rich environment. The soil should crumble easily when dry; if it forms clumps, add more perlite to improve aeration.
Plant Placement Precision: When planting your 4 flowers in Step 3, think about their mature sizes. Place taller plants like bee balm at the back (closest to the drainage holes) and shorter varieties like coneflowers toward the front. This prevents shading issues and creates a natural tiered effect that attracts pollinators from different heights.
Watering Wisdom: That 10-minute deep watering in Step 4 is crucial, but timing matters too. Water in the early morning when temperatures are cooler—this reduces evaporation and gives plants time to absorb moisture before the heat of the day. After the initial watering, let the soil dry slightly between waterings; most pollinator plants prefer moderate moisture rather than constant dampness.
Pro Tips for Water Trough Flower Bed
- Common pitfalls—and how to sidestep every one when creating your pollinator paradise.
- Drainage is Non-Negotiable: Those ¼-inch holes spaced 6 inches apart in Step 1 aren't just suggestions—they're essential.
- Soil Science Matters: The 4-inch layer of potting mix with perlite in Step 2 is your foundation, but don't skimp on the quality.
Frequently asked questions
Got questions about turning a water trough into a stunning flower bed?
Here are answers to the most common ones—so you can dive in with confidence!
What’s the best type of water trough for a flower bed?
Opt for plastic or galvanized steel troughs—they’re lightweight, durable, and won’t rust quickly. Avoid untreated wood (it rots) or thin metal (it warms up too fast). For a rustic look, choose heavy-duty galvanized or powder-coated options with drainage holes pre-drilled.
How long does it take for flowers to grow in a trough?
Most annuals (like nasturtiums or marigolds) sprout in 2–4 weeks if planted in well-draining soil and watered daily. Perennials (e.g., lavender) may take 6–8 weeks to fill out. Patience pays off—troughs warm up faster, so seedlings grow quickly once established!
How often should I water a trough flower bed?
Water daily in hot weather (troughs dry out fast!) and every 2–3 days in cooler climates. Check soil moisture by sticking your finger 1 inch deep—if dry, water thoroughly. Morning watering prevents evaporation and fungal issues. A drip irrigation system saves time and keeps roots happy.
Will a trough flower bed attract bees and butterflies?
Absolutely!
Plant native wildflowers (like coneflower or bee balm) and herbs (e.g., thyme) to draw pollinators. Avoid pesticides—troughs are mini ecosystems. Place your trough near sunny, sheltered spots for maximum buzzing activity.
How do I fix a trough that’s leaking or warping?
For leaks, seal gaps with waterproof silicone caulk or line the bottom with landscape fabric. If the trough warps, flip it over and add rocks or pavers underneath for support. Prevent warping by choosing wider, shallower troughs and avoiding heavy clay soil. A layer of hardware cloth at the bottom deters burrowing pests too!
Can I use a trough for vegetables instead of flowers?
Yes! Troughs work great for shallow-rooted veggies like lettuce, herbs, or radishes. Use a lightweight potting mix (avoid garden soil—it compacts) and add compost for nutrients. Just know: tomatoes or peppers need deeper containers. Rotate crops yearly to keep soil healthy!
Wrapping up and next steps
A water trough flower bed isn’t just a creative garden hack—it’s a living, buzzing ecosystem that brings beauty, sustainability, and joy to your outdoor space! 🌸 By repurposing an old trough, you’ve crafted a pollinator paradise while adding rustic charm to your yard.
Whether you’re a seasoned gardener or a beginner, this project proves that small changes can make a big impact.
Now that you’re inspired, take the next step! Start small—pick a trough, gather your plants, and let nature do the rest. Share your progress with fellow gardeners or even turn it into a weekend project with friends. Your garden (and the bees!) will thank you.