
Container Gardens
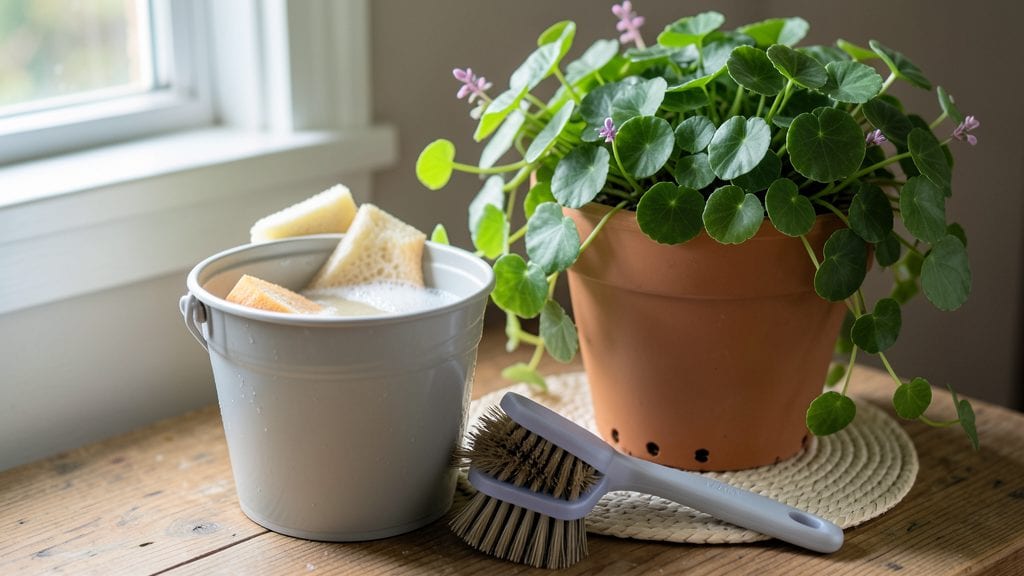
Learn how to clean clay flower pots effortlessly with the vinegar soak trick when algae, mineral deposits, and old soil refuse to budge. I’ve rescued pots that looked hopeless with just white vinegar, warm water, and a little elbow grease, and the results are always shocking.
The key is working with the clay’s natural porosity instead of fighting it, so you don’t crack the pot while scrubbing away years of buildup.
You’ll need basic supplies: white vinegar (the real secret weapon), a stiff brush or old toothbrush for crevices, baking soda for tough stains, and a bucket or large container for soaking. Avoid harsh chemicals or steel wool—they’ll scratch the surface and ruin the pot’s charm.
For extra-stubborn spots, a plastic scraper works better than metal tools, and always let pots dry completely before reuse to prevent mold.
What you’ll end up with is pots that look brand new, free of that dull, grungy film that makes gardens look neglected. The vinegar smell fades fast, and the clay’s natural texture comes back to life, ready for fresh soil and new plants.
Plus, your pots will last seasons longer when you clean them properly—no more cracked or weakened containers from ignored buildup.
This method works for terracotta, stoneware, and even glazed clay pots, whether you’re refreshing a single pot or tackling a whole collection. The best part? You’ll spend less time scrubbing and more time gardening. Let’s get those pots sparkling clean without the damage.
📚 In This Guide
- What you need
- Instructions
- Tips and common mistakes
- Wrapping up and next steps
What you need
- ● White vinegar (2–3 cups per pot, depending on size)
- ● Water (enough to submerge the pot or fill a sink)
- ● Soft-bristle brush (old toothbrush or nylon scrub brush for delicate cleaning)
- ○ Spray bottle (optional, for targeted vinegar application)
- ● Plastic wrap or damp towel (to cover the pot while soaking)
- ● Rubber gloves (to protect your hands from vinegar fumes)
- ○ Baking soda (1–2 tbsp, for tough stains—optional but effective!)
- ● Microfiber cloth or towel (for drying and polishing)
- ● Garden hose or bucket (for rinsing after cleaning)
- ○ Safety goggles (if dealing with heavily encrusted pots—optional but wise!)
Step-by-Step instructions for reviving clay flower pots
Clay pots hold up beautifully over time—but only if you clean them right. Here’s how to refresh them without damage.
Remove Residual Soil and Debris
Start by tapping the pot gently on a hard surface to loosen dried soil and roots. This prevents clogging your drain holes later. Use a small trowel or your fingers to scrape out stubborn bits from the drainage holes—don’t force them, or you might crack the clay. A wire or pipe cleaner works great for reaching deep into narrow holes.
For pots with thick buildup, soak them in warm water for 10-15 minutes first. This softens dried soil and makes scraping easier. Avoid harsh scrubbing at this stage—it can weaken the clay’s surface. If the pot feels heavy, it’s still holding moisture, so let it dry completely before moving to the next step.
Prepare the Vinegar Soak Solution
Fill a large bucket or basin with equal parts white vinegar and warm water—this creates a mild acid solution that cuts through mineral deposits and algae without harming the clay. For 4 clay pots, use 2 cups vinegar and 2 cups water per soak. Stir gently to mix, but avoid creating suds, which can leave residue.
Place the pots in the solution, ensuring they’re fully submerged. If your pots are large, you may need to adjust the ratio to keep them covered. Let them soak for at least 1 hour, or up to 4 hours for deeply stained pots. The vinegar will fizz slightly—this is normal and signals it’s breaking down grime. Never use bleach or commercial cleaners, as they can weaken the clay’s natural porosity.
Scrub and Rinse Thoroughly
After soaking, use a soft-bristle brush or an old toothbrush to scrub the interior and exterior. Focus on drainage holes and crevices where dirt accumulates. For stubborn stains, dip the brush in the vinegar solution and scrub in circular motions. Avoid metal brushes—they can scratch the glazed surface. If the pot feels rough, you’ve been too aggressive; clay is delicate when wet.
Rinse each pot thoroughly under running water until the vinegar smell disappears and no residue remains. Tap the pot again to dislodge any loosened particles. Let them air-dry in a well-ventilated area, away from direct sunlight, which can cause uneven drying and cracking. Drying time varies by pot size—small pots dry in 2-4 hours, while larger ones may take 6-8 hours.
Disinfect and Prep for Reuse
Once completely dry, disinfect the pots by wiping them down with a 1:10 bleach-to-water solution (1 part bleach to 10 parts water). This step is crucial to prevent fungal growth in your next plants. Use a clean cloth or sponge, and rinse immediately afterward to remove all bleach traces. Never leave bleach residue—it can harm roots and soil microbes.
Give the pots a final inspection. Check for cracks, chips, or weakened spots—if any are found, retire the pot from planting use to avoid soil loss. Store them upside-down in a dry place until ready for reuse. Clay pots absorb moisture over time, so keeping them dry extends their lifespan. Now they’re ready for fresh soil and new plants!
Tips & tricks for perfect clay flower pot cleaning
Took me a while to figure these out, so here goes—these little details make all the difference when restoring your clay pots.
Gentle Handling in Step 1: That initial tapping to loosen soil is more important than it seems. I learned this the hard way after cracking a pot by being too aggressive with a trowel. Use a rubber mallet or even a wooden spoon to tap gently—just enough to break up the soil without stressing the clay. For drainage holes, I keep a small wire hook on hand specifically for this purpose; it reaches deeper than fingers and prevents straining.
Vinegar Solution Strength: The 1:1 vinegar-to-water ratio works perfectly for most stains, but for heavily mineralized pots (like those used for succulents), you might need to extend the soak time to the full 4 hours. Pro tip: If you're dealing with multiple pots, divide them into batches—overcrowding the soak solution dilutes its effectiveness. The fizzing action you see is actually a good sign; it means the vinegar is actively breaking down deposits.
Drying Strategy: When it comes to the 2-4 hour drying time for small pots, I've found that placing them on a wire cooling rack (rather than a flat surface) speeds up evaporation. Just make sure the rack is in a spot with good airflow—this prevents moisture from being trapped inside the pot, which can lead to mold. For larger pots that take 6-8 hours, I set a timer and check them hourly to ensure even drying.
Bleach Safety: That 1:10 bleach solution in Step 4 is non-negotiable for disinfection, but I've learned to always use rubber gloves when handling it—even diluted bleach can irritate skin over time. After wiping, I rinse each pot twice with clean water to ensure no bleach residue remains. The final inspection is crucial too; I keep a small flashlight handy to check for hidden cracks in the glaze that might not be visible in normal light.
Pro Tips for Clean Clay Flower Pots
- Took me a while to figure these out, so here goes—these little details make all the difference when restoring your clay pots.
- Gentle Handling in Step 1: That initial tapping to loosen soil is more important than it seems.
- Vinegar Solution Strength: The 1:1 vinegar-to-water ratio works perfectly for most stains, but for heavily mineralized pots (like those used for succulents), you might need to extend the soak time to the full 4 hours.
Frequently asked questions
Got questions about restoring your clay flower pots to their former glory? You’re not alone! Here are some of the most common concerns—and their solutions—to keep your pots fresh and functional.
How often should I clean my clay flower pots?
Clean your clay pots at least once a year, or more often if you notice mold, mildew, or mineral buildup. After each growing season is ideal, especially if you’re reusing them for new plants. A quick rinse between uses prevents grime from hardening.
Can I use bleach to clean clay pots instead of vinegar?
While bleach kills mold and bacteria effectively, it can weaken the clay over time and leave a harsh chemical residue. If you choose bleach, dilute it (1 part bleach to 10 parts water), rinse thoroughly, and avoid using it on glazed pots. Vinegar is a gentler, eco-friendly alternative.
What if my clay pot has cracks or holes? Can I still clean it?
Yes! Cracks don’t disqualify a pot from cleaning—just adjust your method. Avoid soaking cracked pots in vinegar or water for too long (to prevent leaks), and scrub gently with a brush. For stubborn dirt, use a damp cloth or sponge instead of submerging.
Will cleaning my clay pot kill beneficial microbes in the soil?
Cleaning the pot itself (not the soil) won’t harm microbes, but if you’re reusing the same soil, sterilize it separately with heat or hydrogen peroxide (3% solution). Focus on scrubbing the pot’s interior and exterior to remove salts, algae, and old debris without disturbing your plant’s ecosystem.
My pot still looks dirty after cleaning—what’s the trick?
Stubborn stains often hide in porous clay. Try these fixes:
- Baking soda paste: Mix with water, scrub, and rinse.
- OxiClean: Soak the pot in a solution (follow package instructions).
- Sandblasting (last resort): Use fine sand in a sealed container to gently exfoliate grime.
Wrapping up and next steps
Cleaning your clay flower pots doesn’t have to be a chore—with a little elbow grease and the right tricks, like a vinegar soak, you’ll have them looking fresh in no time! 🌿 Whether you’re tackling dried-on soil, algae, or mineral deposits, these methods will restore your pots to their natural beauty while keeping your plants thriving.
Now that you’re equipped with the know-how, grab those supplies and give your containers the TLC they deserve.
Ready to elevate your garden game? Try repurposing your freshly cleaned pots with new plants or even use them as stylish planters for herbs or succulents. Happy gardening! 🌱