
Propagation
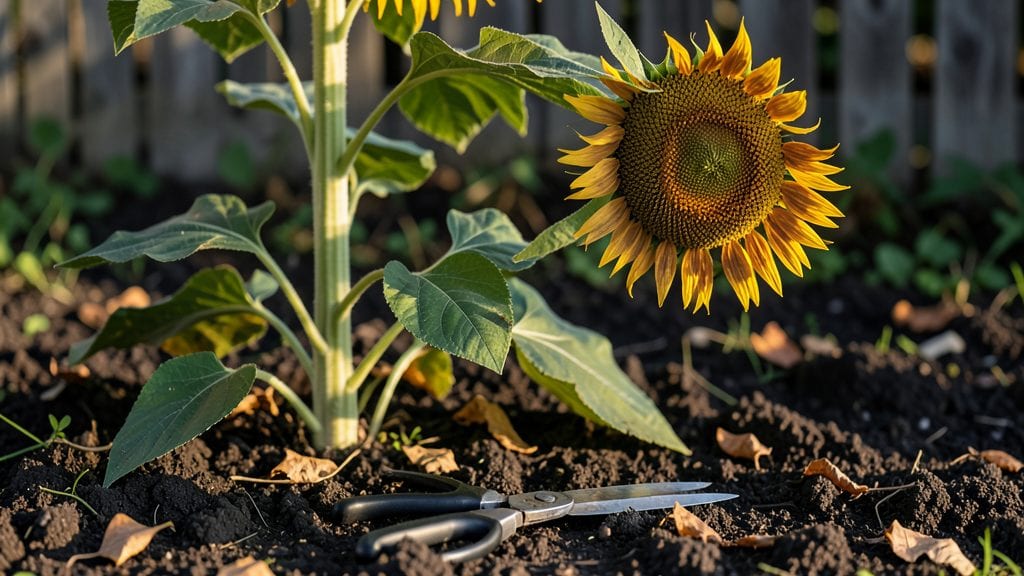
Mastering how to dry out sunflower seeds properly turns floppy harvests into crunchy, long-lasting snacks—or the perfect seed source for next year’s garden. 🌻 I’ve learned the hard way that skipping this step leads to moldy messes or seeds that won’t sprout.
The key is patience: too-hot air or humidity ruins everything, but the right conditions give you seeds that rattle when shaken and stay fresh for months.
You’ll need just three things: a dry, well-ventilated space (like a garage or sunny porch), a tray or mesh bag, and a thermometer to monitor temps between 70–85°F. Spread seeds in a single layer—crowding traps moisture—and flip them every few hours.
If you’re in a humid climate, add a fan to keep airflow steady. The goal is uniform drying, not speed.
When done right, your seeds will feel light in your hand and make a crisp sound when shaken. Test a few by breaking one open: if the inside is dry and papery, they’re ready.
Store them in an airtight container in the fridge for up to a year, or freeze them for even longer shelf life. Skimp on drying, and you’ll end up with seeds that either won’t store or won’t grow.
This method works for both snacking seeds and planting stock—just adjust drying time based on your climate. Too impatient? You’ll risk mold or uneven drying. Too slow?
You’ll wait weeks. Aim for 24–48 hours under ideal conditions, and you’ll have seeds that taste as good as they perform in the garden.
📚 In This Guide
- What you need
- Instructions
- Tips and common mistakes
- Wrapping up and next steps
What you need
- ● Fresh sunflower seeds – Harvested from mature sunflower heads (about 1–2 cups for a batch). Ensure they’re fully ripe and dry to the touch.
- ● Baking sheet or tray – Use a light-colored, flat baking sheet (preferably with raised edges) to prevent spills.
- ● Parchment paper or silicone baking mat – Covers the tray to avoid sticking and easy cleanup.
- ● Oven – Preheat to 170°F (77°C) (low and slow is key!).
- ● Paper towels or cooling rack – For cooling seeds after drying.
- ● Airtight container – Store dried seeds in a glass jar or sealed bag to maintain crispiness.
- ● Dehydrator – Set to 135°F (57°C) for even drying without an oven.
- ● Food dehydrator trays – Perfect for larger batches.
- ● Fine-mesh strainer or colander – If seeds need a quick shake to remove debris.
- ● Spice grinder or mortar & pestle – For crushing seeds into sunflower seed butter later!
Step-by-step guide to perfectly drying sunflower seeds
Here's how to transform fresh sunflower seeds into crispy, nutty treats in just one day.
🌱 Step 1: Harvest and Prep the Seeds
Pick sunflower heads when the back turns yellow and petals droop—this means the seeds are fully mature. Cut the head off with a sharp knife, leaving a 2-inch stem. I always lay the heads upside down on a clean towel to catch any seeds that might fall during processing.
Twist the stem gently to open the head fully. Remove seeds by rubbing your fingers along the base of each floret. Discard any seeds with black spots or soft centers—they won't dry properly. If you're working with a large harvest, spread the seeds in a single layer on a baking sheet for even drying.
☀️ Step 2: Dry in the Sun (Best Method)
Spread the seeds in a thin, even layer on a clean baking sheet or tray. Place them in direct sunlight for 4-6 hours, stirring every 1-2 hours to prevent uneven drying. The seeds are ready when they turn a deep brown color and rattle when shaken in their container.
Here's the thing—sun drying works best on clear, warm days with low humidity. If the air feels damp or you hear rain forecasted, skip this step and use the oven method instead. You'll know they're done when they sound hollow when tapped together.
💧 Step 3: Finish Drying Indoors (If Needed)
If you dried seeds in the sun but they still feel slightly damp, transfer them to a low-heat oven set to 200°F. Spread them on a baking sheet in a single layer and dry for 10-15 minutes, checking frequently. The goal is to crisp them up—not cook them.
For extra crunch, I like to place the seeds in a paper bag and shake it gently for 5 minutes after drying. This removes any remaining moisture clinging to the shells. Store them in an airtight container in a cool, dark place for up to 3 months—they'll stay crispy and delicious.
⏰ Step 4: Test for Doneness and Store Properly
Break open a few seeds to check for doneness—they should be completely dry inside with no moisture visible. If any seeds still feel damp, return them to the oven for 5 more minutes at 200°F. Over-drying won't hurt them, but under-drying leads to soft, chewy seeds.
Once fully dry, let them cool completely before storing. I use small glass jars with tight-sealing lids to keep them fresh. Label the jar with the date—this helps track freshness. If stored correctly, they'll stay crunchy for months, making them a perfect snack for on-the-go munching.
Tips & tricks for perfectly crispy sunflower seeds
These little details make all the difference between store-bought blandness and homegrown crunchy perfection.
Selection Tip: When harvesting, focus on seeds that are plump and firm to the touch. The ones with black spots or soft centers will never achieve that satisfying crunch—discard those immediately. I've learned this the hard way after trying to salvage questionable seeds only to end up with a batch of chewy disappointments.
Sunlight Strategy: For that perfect 4-6 hour sun drying window, position your baking sheet where it gets direct sunlight but isn't baking in hot afternoon rays. Early morning to midday works best—think of it like a gentle sunbath rather than a tanning session. Stirring every 1-2 hours isn't just about even drying; it's your chance to check for that telltale deep brown color that signals readiness.
Oven Temperature: That 200°F setting in Step 3 is your safety net for cloudy days. The key is low and slow—any hotter and you risk cooking the seeds rather than just drying them. Set a timer for 10-15 minutes maximum, then check frequently. You're aiming for crisp, not toasted. A gentle shake test (they should rattle like maracas) confirms doneness better than any timer.
Storage Wisdom: The 5-minute paper bag shake after drying removes that last bit of moisture clinging to the shells. It's worth the extra effort—trust me, your seeds will thank you with months of perfect crunch. Store them in glass jars with tight lids to maintain that crisp texture. I've found that labeling jars with the date helps track freshness, especially when you've got multiple batches going.
Pro Tips for Dry Out Sunflower Seeds
- These little details make all the difference between store-bought blandness and homegrown crunchy perfection.
- Selection Tip: When harvesting, focus on seeds that are plump and firm to the touch.
- Sunlight Strategy: For that perfect 4-6 hour sun drying window, position your baking sheet where it gets direct sunlight but isn't baking in hot afternoon rays.
Frequently asked questions
Got questions about drying sunflower seeds? You’re not alone! Here are answers to the most common queries to help you nail that perfect crunch every time.
Can I dry sunflower seeds in the oven instead of the sun?
If you’re short on sunshine, your oven is a great backup. Spread seeds on a baking sheet and dry at 170°F (77°C) for 1–2 hours, stirring every 30 minutes. Keep an eye on them—they’re done when they’re light golden and sound hollow when shaken. Pro tip: Use the lowest oven rack to avoid heat buildup at the bottom!
How do I know when sunflower seeds are fully dried?
Perfectly dried seeds should be light golden, crisp to the touch, and make a hollow sound when shaken in a sealed container. If they still feel damp or bend easily, they need more time. Over-drying can make them bitter, so aim for just the right texture—like a fresh tortilla chip!
What’s the best way to store dried sunflower seeds?
Store seeds in an airtight container (like a glass jar) in a cool, dark place (e.g., pantry or fridge) to preserve freshness. They’ll stay crunchy for up to 6 months. For longer storage, freeze them—they’ll last almost indefinitely! Bonus: Add a silica packet if you’re storing them for years.
Can I dry sunflower seeds without removing the hulls?
Yes, but the process takes longer (2–3 days in the sun or 3–4 hours in the oven). Hulls act as insulation, slowing moisture loss. If you’re impatient, lightly crack the hulls with a rolling pin before drying to speed things up. Just remember: patience is key for even drying!
Why do my dried seeds smell musty or taste bitter?
A musty smell or bitter taste usually means over-drying or mold. If seeds smell off, toss them—they’re no longer safe to eat. To avoid this, check humidity levels (aim for <60%) and dry seeds quickly. For extra safety, store them in the fridge if your kitchen is damp. Prevention tip: Use a food dehydrator for consistent results!
Wrapping up and next steps
Drying sunflower seeds is a simple, rewarding process that unlocks a world of crunchy, nutritious snacks—whether you’re saving seeds for planting or treating yourself to a homemade snack! With the right tools, patience, and a little airflow, you’ll have perfectly dried seeds in just 24 hours.
Don’t let a few missteps discourage you; even small batches can yield big results.
Now that you’re armed with the know-how, give it a try! Start with a small batch, experiment with drying methods, and soon you’ll be enjoying (or sharing) sunflower seeds that taste fresh, crisp, and irresistibly crunchy. Happy drying—and happy snacking! 🌻✨